So, you want to start a travel blog? Maybe you’re dreaming of sharing your adventures, connecting with fellow wanderlusters, or even turning your passion into a profession. Whatever your reason, you’ve come to the right place.
Starting a blog can feel overwhelming, but it’s actually a straightforward process. I’m going to walk you through every single step, from buying your domain name to publishing your first post. No tech genius required, just a bit of your time and enthusiasm.
Let’s turn that dream into a reality.
Is starting a travel blog a good idea in 2026?
I have been getting this question since 2015, and the simple answer is that it depends. If you just start a blog, maybe it is not a good idea, but if you start a blog as part of your content distribution channel, that is an excellent idea.
What I mean is that you should not start a blog as an isolated business model. You need to pair it with social media and other digital communication channels.
How to Start a Travel Blog in 9 Steps
Here are 9 steps you can follow to start a travel blog.
Step 1: Find Your Corner & Name Your Blog
Before you touch any technology, you need a solid foundation.
Find your corner, but do not corner yourself
Travel is a big niche; if you are not careful, you can get lost before you even start. So what I recommend is that you find a small corner in the travel niche and start there. When you build credentials, you can expand later.
To stand out, it helps to have a specific focus. Ask yourself:
- What kind of traveler am I? (Luxury, budget, solo, family, backpacker?)
- What are my unique interests? (Food, hiking, photography, sustainable travel, digital nomad life?)
- Who is my target audience?
The answer to these questions will tell you which corner you can start with, and then you can expand later if that is what you wish.
Choose a Memorable Name
Your blog name is your brand. Make it.
Here is where the “don’t corner yourself” part comes in. You see, you find a small corner you want to start with, and that is great, but do not lock yourself there with your domain name.
Let’s say your corner is a single lady who travels solo. Do not buy a domain name with singleladysolotraveler.com. This might be a great domain name when you are starting, but when your blog grows might cause issues.
What if you do not travel solo anymore? What if you get kids, or get married, or a life partner? How will this name impact those new people in your life?
I have seen a lot of people abandon their blogs and start new ones because they put themselves in a corner, and the only way to get out was to abandon the whole thing altogether.
The solution for this is to start small but think big. The best possible solution for this would be to use your name as a blog name.
Here are some points you can use to pick up a good domain name for your travel blog.
- Catchy and Easy to Remember: Avoid complicated spellings.
- Relevant to Travel: Give people a hint about what to expect.
- Use your name if possible: This will make your blog flexible and easy to pivot in the future.
- Available: Check that the domain name (yourblogname.com) and social media handles (@yourblogname) are available.
After you find your blog name, register it with Namecheap.
Step 2: Get Your Blog Online (Web Hosting & Domain)
You picked the name for your blog in the first step. If you can go back and register it with Namecheap.
Choose a Web Host
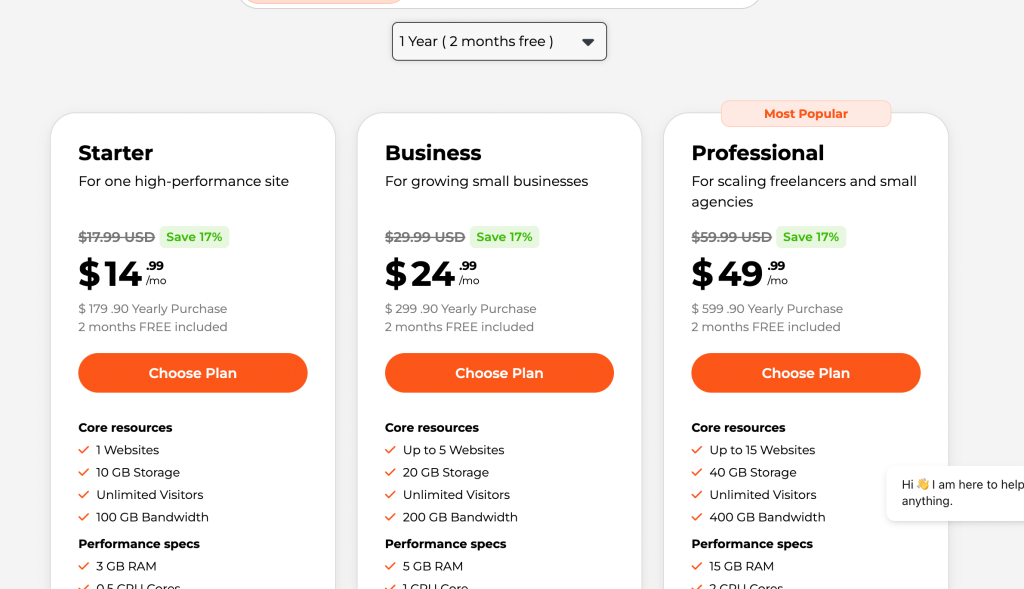
For bloggers, I highly recommend WPX. It’s affordable, reliable, and offers top-notch technical support. Their starter hosting plan is perfect for a new blog. If you can afford it, I recommend getting at least a 1-year plan.
Step 3: Install and Customize WordPress
WordPress is the world’s most popular blogging platform, powering over 40% of all websites. It’s incredibly flexible and easy to use.
A. Install WordPress
The beauty of Wpx is that it does this for you automatically. After signing up, you’ll be prompted to log in to your WordPress dashboard (also called wp-admin). This is your blog’s command center.
And if you do not want to do any of this, you can send a support ticket to the WPX support team, and they will install and configure it for you for free.
B. Choose and Install a Theme
Your theme controls how your blog looks.
- In your WordPress dashboard, go to Appearance > Themes.
- Click Add New and browse. You can filter for free themes.
- My Recommendation for Beginners: Astra or Kadence. They are lightweight, fast, and highly customizable. Search for them, install them, and activate them.
C. Customize Your Design
Go to Appearance > Customize. Here you can play with:
- Site Identity: Upload your logo and set your site title/tagline.
- Colors & Fonts: Match your brand’s vibe.
- Menus: Create your main navigation menu (e.g., Home, About, Blog, Contact).
- Homepage Settings: Set your homepage to display your latest blog posts or a static “Welcome” page.
Step 4: Create Your Essential Pages
Every professional blog needs a few key pages. In WordPress, go to Pages > Add New.
- About Page: This is your story! Who are you? Why do you travel? Why should people read your blog? Be authentic and connect with your reader.
- Contact Page: Make it easy for brands, readers, and partners to get in touch. You can use a simple contact form plugin like WPForms Lite (it’s free).
- Blog/Posts Page: This is where all your articles will automatically appear. It’s usually set as your homepage or a separate “Blog” page.
Write and Publish Your First Blog Post
The moment you’ve been waiting for! Go to Posts > Add New.
Crafting a Great First Post:
- Choose a Compelling Topic: Don’t just write “My Trip to Spain.” Write “The 5 Mistakes Every First-Timer Makes in Barcelona” or “A 3-Day Madrid Itinerary for Food Lovers.”
- Use a Clear Structure: Use headings (the H2 and H3 options in the editor) to break up text. No one likes a wall of words!
- Add High-Quality Photos: Your own photos are best! Compress them for the web (using a free tool like ShortPixel) so they don’t slow down your site.
- Optimize for SEO (Search Engine Optimization): This is how people find you on Google.
- Use a plugin like Yoast SEO or Rank Math (both have free versions).
- They will guide you to include your keyword (e.g., “Madrid itinerary”) in the title, headings, and throughout the post naturally.
- Hit Publish! Don’t strive for perfection. Your first post won’t be your best, and that’s okay. The goal is to start.
Step 6: Install Essential Plugins
Plugins are like apps for your WordPress site, adding new features and functionality. Go to Plugins > Add New.
Must-Have Free Plugins for a New Travel Blog:
- Yoast SEO / Rank Math: For search engine optimization.
- WPForms Lite: To create a simple contact form.
- Akismet Anti-Spam: Automatically filters spam comments.
- UpdraftPlus: Backs up your entire site. Crucial for peace of mind!
A Note on Plugins: Don’t go overboard! Too many can slow down your site. Start with these essentials.
Step 7: Set Up Your Social Media Presence
Your blog is your home base, but social media is your megaphone.
- Secure Your Handles: Create accounts on your chosen platforms (Instagram, Pinterest, TikTok, Facebook) using your blog’s name.
- Start Sharing: Share snippets of your posts, behind-the-scenes stories, and beautiful photos. Link back to your blog to drive traffic.
- Pinterest is a Powerhouse: For travel blogs, Pinterest acts more like a visual search engine. Create beautiful pins for your blog posts to get massive traffic over time.
Step 8: Create a newsletter
When people start to come to your blog and read your content, you need to invite them to join your newsletter.
To create a newsletter, you need an autoresponder. For that, I use ConvertKit or Kit.
Then create a simple landing page and share it with your audience so that they can join your newsletter.
How Travel Blogs Make Money (Top Monetization Methods)
For most people, the main reason to start a travel blog is to make money, and here are some of the top ways to make money from your travel blog.
Affiliate Marketing
Recommend products or services and earn commission when readers purchase through your link.
Best travel affiliate programs:
| Category | Affiliate Example |
|---|---|
| Hotels & stays | Booking.com, Expedia, Agoda, Airbnb |
| Tours | Viator, GetYourGuide |
| Travel insurance | SafetyWing, World Nomads |
| Travel gear | Amazon Associates |
| Flights | Skyscanner, Qatar Airways |
| VPN / digital tools | Surfshark, NordVPN |
Where to place affiliate links:
- Travel gear review posts
- Packing lists
- Destination guides
- Resources page
Display Ads
Once you reach traffic, ads can make money passively.
| Ad Network | Requirement | Typical Earnings |
|---|---|---|
| Google AdSense | No minimum | $1–$7 RPM |
| Ezoic | 10,000 pageviews | $6–$18 RPM |
| Mediavine | 50,000 pageviews | $15–$35 RPM |
Many travel bloggers earn $1,000–$10,000/month from ads alone.
Sponsored Posts & Brand Collaborations
Brands pay you to promote destinations, hotels, tours, or gear.
Examples:
- Tourism board partnerships
- Hotel review stays
- Travel gear sponsorships
- Video or Instagram collaborations
Start pitching once you have:
- Engaged audience
- Professional media kit
- Real travel content on your blog & social media
Digital Products
Digital products are highly profitable with no inventory cost.
Ideas:
- Travel eBook guide
- Itinerary templates
- Lightroom presets
- Travel budgeting spreadsheet
- Digital nomad course
- Photo editing course
Email Marketing
Build an audience you own. Email subscribers convert more than social media followers.
Offer a free lead magnet:
- Free travel packing list PDF
- Free itinerary for a destination
I use ConvertKit.
YouTube + Pinterest
Even if your blog is small, Pinterest & YouTube can drive huge traffic.
Why Pinterest works:
- People search for travel inspiration
- Pins stay active for months
- Easy to go viral
How Much Can a Travel Blog Earn?
| Time Blogging | Expected Earnings |
|---|---|
| 3–6 months | $0–$500/month |
| 6–12 months | $500–$2,000/month |
| 12–24 months | $2,000–$20,000+/month |
Final Tips for Success
✔ Be consistent — 2-3 articles per week
✔ Build authority with personal experience
✔ Monetize from day one
✔ Focus on SEO and Pinterest
✔ Grow your email list early
FAQ: How to Start a Travel Blog That Makes Money
How much does it cost to start a travel blog?
You can start a basic, self-hosted blog for as little as $50-$100 per year. This typically covers your domain name and basic web hosting.
Using free themes and plugins keeps the initial cost low. Remember, a self-hosted blog (like with WPX) is a professional long-term investment, unlike free platforms like Blogger or WordPress.com, which have limitations.
Do I need to be a great writer or photographer?
Not at all! While good writing and photos help, your unique perspective and passion are what matter most. Your skills will improve over time.
Focus on being authentic, helpful, and telling a good story. You can always learn photography basics and improve your writing as you go.
How can I make money from my travel blog?
Making money takes time and traffic, but it’s possible. Common methods include:
- Display Advertising: (e.g., Google AdSense) Places ads on your site.
- Affiliate Marketing: Earning a commission for recommending products or services (e.g., Amazon, booking sites, travel gear).
- Sponsored Content: Getting paid by a brand to write a post or review.
- Selling Your Own Products: Like e-books, photography presets, or travel courses.
I’m not tech-savvy. Can I really do this?
Absolutely! Platforms like WordPress and hosts like WPX are designed for beginners. This guide uses the most straightforward methods available.
If you can use a word processor and a web browser, you have all the skills you need to get started.
How often should I publish new blog posts?
Consistency is more important than frequency. It’s better to publish one high-quality, well-researched post per month than four rushed, low-value posts.
Create a sustainable schedule, whether it’s once a week or twice a month, and stick to it.
How do I get people to actually read my blog?
This is the fun part, promotion.
- SEO: Optimize your posts so they rank on Google.
- Social Media: Share your content on Pinterest, Instagram, Facebook groups, and Twitter.
- Engage: Comment on other travel blogs and be an active part of the community.
- Be Patient: Building an audience doesn’t happen overnight. Focus on value, and readers will come.
Your Journey Starts Now
Building a successful travel blog doesn’t happen overnight. It takes consistent effort, passion, and a love for sharing. But by following these steps, you’ve done the hardest part: you’ve started.
Your site is live, your first post is published, and you’re officially a travel blogger.
Now, the adventure truly begins. Focus on creating valuable content for your readers, connecting with your community, and, most importantly, enjoying the journey.
Ready to build? Have any questions? Drop them in the comments below!
